Headlights are an essential component of any car, providing visibility during nighttime driving and adverse weather conditions. However, over time, headlight issues can arise, ranging from dim lighting to complete failure. Understanding how to repair these common headlight problems is crucial for maintaining safety on the road. In this article, we will explore some of the most prevalent headlight issues and offer practical solutions to keep your vehicle’s lighting in top condition.
One of the most common problems drivers face is fading or cloudy headlights. This issue not only diminishes the aesthetic appeal of your car but also significantly reduces visibility. The good news is that restoring clarity to your headlights can often be done at home with simple materials. Additionally, knowing how to diagnose a burnt-out bulb or a wiring malfunction can save you time and money at the mechanic. We will provide you with step-by-step guides to tackle these repairs effectively.
Regular maintenance of your car’s headlights is essential for safe driving. By learning how to troubleshoot and repair headlight issues, you gain confidence and knowledge that empowers you as a car owner. Whether it’s replacing a bulb, cleaning cloudy lenses, or checking electrical connections, these skills can make a significant difference in your driving experience. Let’s delve into the specific problems and their solutions to ensure your headlights shine brightly and reliably for every journey.
Identifying Burnt-Out Headlight Bulbs and Replacing Them

When driving at night, functional car lights are essential for visibility and safety. If you notice that one of your headlights is dimmer than the other or not working at all, it is likely that you have a burnt-out bulb. Recognizing these signs early can help you avoid potential hazards on the road.
To identify a burnt-out headlight bulb, observe your car while it is parked. Activate the headlights and step outside to inspect them. If one headlight is completely off or flickering, this indicates that the bulb may need replacement. Additionally, if you notice a change in light color–such as a yellow tint instead of bright white–it could also signal a failing bulb.
Once you’ve determined that a headlight bulb is burnt out, replacing it is a straightforward repair process. Begin by consulting your vehicle’s owner manual for instructions specific to your make and model. This will provide guidance on accessing the headlight assembly. In general, you’ll need to open the hood, locate the back of the headlight housing, and disconnect the electrical connector.
Carefully remove the old bulb by turning it counterclockwise or releasing the retaining clips. Ensure you handle the new bulb with clean hands or gloves to avoid oil transfer, as this can shorten its lifespan. Insert the new bulb into the holder and secure it in place, then reconnect the electrical connector.
After replacing the bulb, test the headlights to ensure they are functioning properly. It is advisable to check both sides, even if only one bulb was burnt out, as replacing both will ensure even illumination and enhance driving safety.
Troubleshooting Electrical Issues Affecting Headlight Functionality
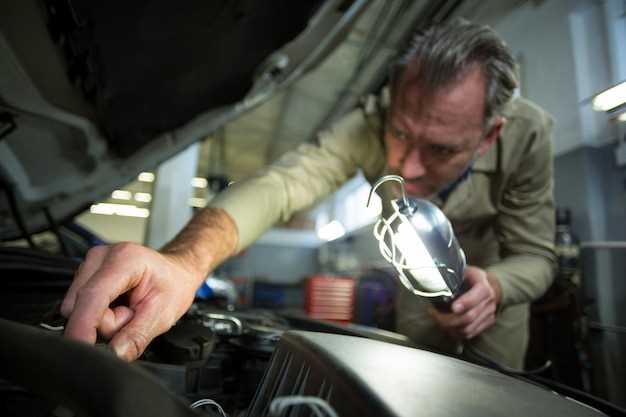
When dealing with headlight problems in your car, one of the first areas to investigate is the electrical system. Faulty wiring or connections can lead to dim or non-functioning headlights. Start your troubleshooting process by checking the fuse dedicated to the headlights.
Locate the fuse box, typically found under the dashboard or the hood. Consult the owner’s manual for the exact location and identify the fuse responsible for the headlights. If the fuse appears burnt or damaged, replace it with one of the same amperage. A blown fuse often indicates an underlying issue that needs further inspection.
Next, inspect the wiring that connects the headlights to the electrical system. Look for any signs of wear, fraying, or corrosion. Damaged wires can lead to short circuits or incomplete connections, resulting in malfunctioning headlights. If you identify any issues, consider performing a repair or replacing the affected wiring.
The headlight bulb itself may also be the source of the problem. A burned-out bulb will require replacement. To check the bulb, remove it from the headlight assembly and inspect it for any broken filaments or darkened glass. If necessary, install a new bulb that matches the specifications for your car.
While troubleshooting, ensure that the headlight switch is functioning correctly. If the switch is faulty, it might not send power to the headlights. Test the switch by using a multimeter to check for continuity. If there is no continuity, replacing the switch may be required.
Lastly, if all of these components are functioning properly yet the headlights still do not work, you may need to evaluate the car’s battery and charging system. A weak battery or failing alternator can impede the electrical supply to the headlights. Conduct tests to ensure they are operating correctly.
By following these steps, you can effectively troubleshoot and resolve common electrical issues affecting headlight functionality in your car.
Maintaining Headlight Clarity: Cleaning and Polishing Tips

Over time, the plastic surfaces of car headlights can become cloudy or yellow due to exposure to UV rays, road debris, and environmental pollutants. This buildup can significantly reduce the effectiveness of your lights, compromising safety while driving. Here are essential cleaning and polishing tips to maintain headlight clarity.
Start by gathering supplies: a mild detergent, water, a soft cloth, and a polishing compound suitable for plastics. Begin the cleaning process by mixing the detergent with water to create a solution. Use the cloth to wipe down the headlight, removing dirt and grime. Rinse thoroughly with clean water and dry the surface with another soft cloth.
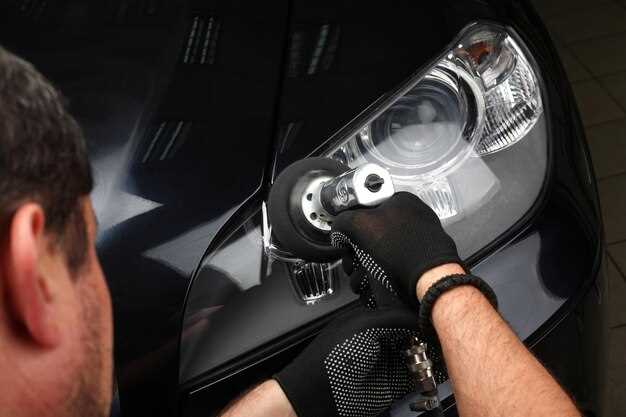
If the headlights still appear cloudy after cleaning, a polishing compound can help restore clarity. Apply a small amount of the compound to a soft cloth and gently rub it onto the headlight in circular motions. This step helps to break down the oxidized layer and improves the transparency of the plastic.
After polishing, rinse the headlights again to remove any residue. For added protection, consider applying a UV sealant specifically designed for headlights. This sealant will help prevent future UV damage and keep your lights clear for a longer time.
Regular maintenance is key. Make it a habit to clean your headlights at least every few months. This proactive approach ensures that your car’s lights remain effective and enhances visibility on the road, contributing to overall driving safety.


