


Maintaining the integrity of your vehicle’s brake system is crucial for ensuring safety on the road. One critical aspect of brake maintenance is the process of bleeding your brake system. This task involves removing air bubbles from the brake lines, which can hinder the effectiveness of your brakes. A well-bleed brake system allows for optimal performance, giving you the confidence you need every time you press the pedal.
Understanding how to properly bleed your brake system is essential for both novice and experienced DIY enthusiasts. It’s important to grasp the significance of this procedure, as air trapped in the lines can lead to a spongy brake feel and decreased stopping power. By following a systematic approach, you can ensure your brake system functions at its best, enhancing both your vehicle’s responsiveness and your overall safety.
This guide will provide you with step-by-step instructions on how to effectively bleed your brake system. We will cover the necessary tools, techniques, and safety precautions you should take to achieve a successful bleed. Whether you are dealing with disc or drum brakes, understanding the fundamentals of this process can save you time, money, and the frustration of inadequate brake performance.
Understanding the Tools Needed for Brake Bleeding
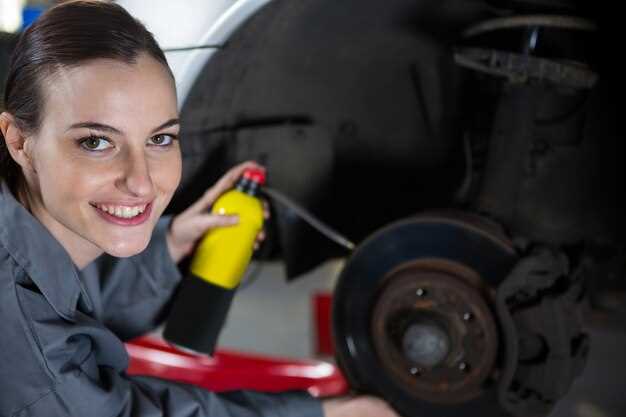
Bleeding your brake system is essential for maintaining optimal braking performance. To perform this task effectively, having the right tools is crucial. Here is a list of necessary tools for the brake bleeding process.
Firstly, a brake bleeder kit is highly recommended. This kit typically includes a suction pump, a clear tubing, and a catch container. The tubing connects to the bleeder valve on the brake caliper, allowing you to easily draw out any air bubbles or contaminated fluid.
Next, a wrench, usually an 8mm or 10mm size, is needed to open and close the bleeder valve. It’s important to have the correct size to avoid rounding off the valve during the bleeding process.
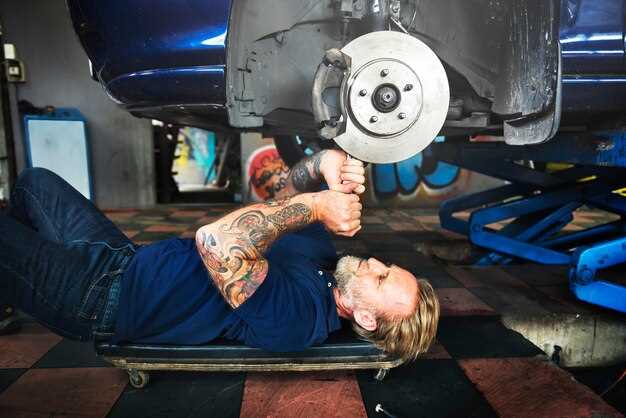
A jack and jack stands are essential for safely lifting your vehicle. Proper height allows you to access the brakes easily without compromising safety.
Additionally, you should have a brake fluid container. This ensures that you use the correct type of fluid and keeps the area tidy. Make sure to check the specifications for your vehicle to choose the suitable fluid.
Lastly, it is helpful to have a friend or helper during the bleeding process. One person can operate the brake pedal while the other monitors fluid levels and air removal. This teamwork can lead to more effective results.
By gathering these tools before starting, you can ensure a smoother and more efficient brake bleeding process, leading to better brake performance.
Step-by-Step Process for DIY Brake Bleeding
To properly bleed your brake system, start by gathering the necessary tools: a brake bleeder kit, a proper wrench, a clear plastic tube, and brake fluid that matches your vehicle’s specifications.
Begin by locating the brake master cylinder under the hood. Ensure it is filled with fresh brake fluid to the appropriate level. This step is crucial, as you don’t want to introduce air into the system while bleeding.
Next, identify the brake calipers or wheel cylinders that you will bleed. Typically, the farthest wheel from the master cylinder should be bled first. Use a wrench to loosen the bleeder valve slightly–do not remove it completely.
Attach the clear plastic tube to the bleeder valve and place the other end into a container to catch the expelled fluid. This setup will help you monitor for air bubbles during the bleeding process.
Ask an assistant to slowly press the brake pedal down and hold it. As they do this, open the bleeder valve. You will see brake fluid (and possibly air bubbles) flowing out into the container. Close the valve before your assistant releases the pedal to prevent air from re-entering the system.
Repeat this process: pressing the pedal down, opening the valve, allowing the fluid to flow, then closing the valve, until you notice a steady stream of clear brake fluid without bubbles. This indicates that air has been successfully removed from that section of the brake system.
After completing the first wheel, check the master cylinder and refill it if necessary. Move on to the next brake caliper, following the same bleeding method until all calipers have been processed.
Finally, once all brakes are bled, test the brake pedal feel. If it feels firm and responsive, you have successfully completed your DIY brake bleeding. If not, you may need to repeat the process or check for other issues in the braking system.
Troubleshooting Common Issues During Brake Bleeding
When bleeding your brake system, several common issues can arise, impacting the efficiency of the process and the overall braking performance. Identifying and addressing these problems is crucial to ensure a safe and effective bleed.
One frequent issue is the presence of air bubbles in the brake lines after bleeding. This can occur if the bleed valve is not opened sufficiently or if the brake pedal is not pressed slowly and steadily. To rectify this, ensure that you fully open the bleed valve and maintain a consistent pedal pressure throughout the process. A helper can assist by pressing the brake pedal while you monitor the fluid flow.
Another concern is the brake fluid level. If the reservoir runs low during the bleeding process, it can introduce more air into the system. Always check the fluid level frequently and top it off as needed to prevent this from happening. Keeping a close eye on the reservoir will help maintain proper hydraulic pressure.
Leaking brake fluid can also disrupt your bleeding efforts. If fluid is leaking from connections or fittings, it may prevent effective bleeding and lead to compromised braking performance. Inspect all connections for signs of fluid escape and tighten or replace any faulty components before proceeding.
Lastly, if you notice a spongy brake pedal after bleeding, it may indicate that air remains trapped in the system. In this case, repeating the bleeding process is advisable. Try different methods, such as vacuum bleeding or reverse bleeding, to ensure all air is expelled.
By being aware of these common problems and addressing them promptly, you can achieve a thorough bleed and maintain the integrity of your brake system.


