


Achieving a brilliant shine on your car doesn’t just enhance its appearance; it also protects the paint and prolongs its lifespan. Waxing is one of the most effective methods to achieve that stunning finish. This article will provide you with essential tips and techniques for car waxing that can transform your vehicle into a gleaming masterpiece.
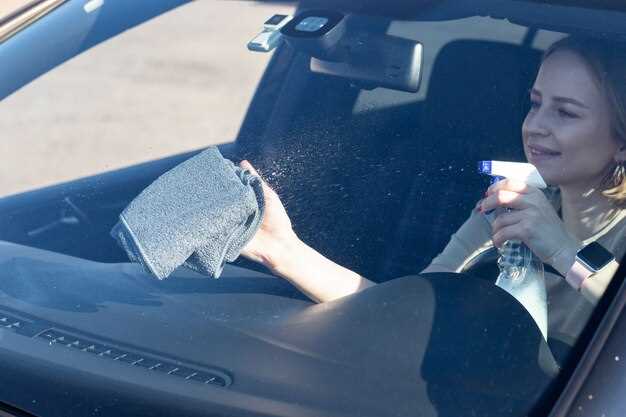
When it comes to waxing your car, preparation is key. Before applying any wax, ensure your car’s surface is thoroughly cleaned and dried. This step is crucial as it removes dirt, grime, and old wax that can impede the bonding of the new layer. A clean surface not only enhances the shine but also allows the wax to adhere properly, resulting in a durable, glossy finish.
Moreover, choosing the right type of wax can make a significant difference in achieving that perfect shine. Whether you opt for natural carnauba wax or synthetic alternatives, understanding the properties of each can help you select the best option for your vehicle’s color and finish. By following these tips, you’ll be well on your way to mastering the art of car waxing and ensuring your ride stands out with an irresistibly shiny surface.
Choosing the Right Wax for Your Car’s Finish
Selecting the appropriate wax for your car is crucial for achieving a stunning finish. Different car finishes require specific types of wax to ensure optimal protection and shine. Understanding the variations in wax types can help you make an informed choice.
There are primarily three types of wax: natural, synthetic, and hybrid. Natural waxes, often made from carnauba, provide an exquisite depth and warmth to the paint. They are ideal for classic cars and those seeking a traditional finish. However, they generally offer shorter-lasting protection and may require more frequent applications.
Synthetic waxes, on the other hand, are engineered for durability and longevity. They form a protective barrier against environmental elements, making them suitable for daily drivers exposed to harsh conditions. Many synthetic options also enhance the reflectivity of your car’s paint, giving it a brilliant shine.
Hybrid waxes combine the best of both worlds, featuring natural ingredients alongside synthetic polymers. This type of wax can provide an excellent balance between aesthetic appeal and long-lasting protection. When choosing a hybrid option, consider the specific needs of your vehicle and the conditions it faces.
Moreover, consider the finish of your car when selecting wax. Matte finishes, for example, require special care and specific waxes designed to maintain their unique appearance. Standard gloss finishes can handle most high-quality waxes, but always ensure compatibility to avoid degrading the surface.
In summary, evaluating your car’s finish and understanding the types of wax available will lead to an informed decision. Selecting the right wax is essential for not only the aesthetic appeal but also the protection of your vehicle’s exterior.
Step-by-Step Waxing Process for Maximum Shine
To achieve a stunning shine on your car, follow this detailed waxing process. Ensuring each step is carried out properly will enhance the final finish and protect your vehicle’s paint.
Step 1: Wash Your Car
Begin by washing your car thoroughly to remove dirt, grime, and contaminants. Use a pH-balanced car soap and a microfiber wash mitt to avoid scratching the surface. Rinse thoroughly and dry with a clean microfiber towel.
Step 2: Inspect the Surface
After drying, inspect the car’s paint for imperfections. Look for scratches, swirls, or oxidation. If needed, polish these areas with a dual-action polisher to prepare the surface for waxing.
Step 3: Choose the Right Wax
Select a high-quality wax suitable for your car. There are several types, including paste, liquid, and spray wax. Each type offers different benefits; choose one that fits your needs for shine and durability.
Step 4: Apply the Wax
Using an applicator pad, apply the wax in small sections, working one panel at a time. Use circular motions for even coverage. Ensure not to apply too much, as a thin, even layer will produce the best results.
Step 5: Let It Dry
Allow the wax to dry according to the manufacturer’s instructions. This usually takes 10-15 minutes, or until the wax becomes hazy. Avoid working in direct sunlight to prevent premature drying.
Step 6: Buff the Wax
Once dried, use a clean microfiber towel to buff the surface. Gently wipe off the haze using straight, clean strokes, applying light pressure to reveal a brilliant shine.
Step 7: Inspect and Repeat
After buffing, inspect the surface once more. If necessary, apply a second coat for enhanced depth and protection. Remember, thorough application leads to maximum shine.
Step 8: Maintain the Shine
To maintain your car‘s shine, wash it regularly and consider using a quick detailer spray between wax applications. This will help preserve the finish and protect it from environmental elements.
Common Mistakes to Avoid During Car Waxing
Car waxing is an essential step in maintaining your vehicle’s appearance and protecting its paint. However, there are several common mistakes that can hinder the effectiveness of this process.
1. Skipping the Wash: One of the biggest errors is applying wax on a dirty surface. Dust, dirt, and grime can create scratches and inhibit proper adhesion of the wax. Always wash your car thoroughly before waxing.
2. Choosing the Wrong Wax: Not all waxes are created equal. Using a wax that is not suitable for your car’s paint type can lead to unsatisfactory results. Make sure to select a high-quality wax designed specifically for your vehicle’s finish.
3. Waxing in Direct Sunlight: Applying wax under direct sunlight can cause it to dry too quickly, making it difficult to buff out. It is best to work in a shaded area or during cooler times of the day.
4. Using Too Much Product: Overapplying wax can result in a cloudy finish. Use a thin, even layer to allow for better absorption and easier removal.
5. Not Allowing Adequate Curing Time: After applying wax, failing to let it cure can compromise the protective layer. Follow the manufacturer’s instructions regarding curing time before buffing.
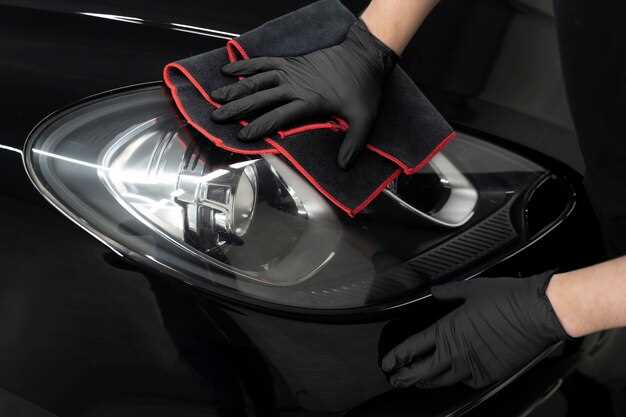
6. Improper Buffing Technique: Using the wrong type of cloth or buffing in a haphazard manner can leave marks on the surface. Utilize a soft, clean microfiber cloth and employ a circular motion for optimal results.
7. Ignoring Trouble Spots: Areas like seams, edges, and crevices often accumulate more dirt and require special attention. Make sure to adequately apply wax in these locations to ensure full coverage and protection.
Avoiding these common mistakes will help you achieve a stunning finish and prolong the life of your car’s paint. Proper preparation and technique are key to successful waxing.


